Bike commuting offers numerous benefits: improved fitness, cost savings, environmental impact reduction, and freedom from traffic congestion. However, making the transition from car or public transit to bicycle commuting requires planning, proper equipment, and route knowledge. This comprehensive guide covers everything you need to start commuting by bike successfully.
Benefits of Bike Commuting
Health and Fitness
Commuting by bike provides 30-60 minutes of daily cardio exercise without requiring extra gym time. Studies show bike commuters have 40% lower risk of heart disease, improved mental health, and better overall fitness than car commuters.
Cost Savings
The average American spends $10,000+ annually on car ownership (payments, insurance, gas, maintenance). Bike commuting costs roughly $300-500/year including maintenance, gear, and occasional transit backup. Savings: $9,000+ annually.
Time Efficiency (in Cities)
For urban commutes under 5 miles, cycling is often faster than driving once you account for parking searches and walking from lots. Bikes flow through traffic, use bike lanes, and park at building entrances.
Environmental Impact
A 10-mile round-trip commute saves 5,000 lbs of CO2 emissions annually compared to driving. Multiply by millions of potential bike commuters for significant environmental benefit.
Planning Your Commute Route
Route Selection Priorities
1. Safety Over Speed
Choose routes with bike lanes, low-traffic residential streets, and multi-use paths over direct routes on busy arterials. A 5-minute longer commute on safe streets beats the stress and danger of high-traffic roads.
2. Use Mapping Tools
- Google Maps: Bike route option shows bike lanes and paths
- Strava heatmap: Reveals popular cycling routes (often the safest)
- Local bike maps: Cities publish official bike route maps online
- Komoot: Route planning app with surface-type filtering
3. Test Ride on Weekends
Ride your planned commute route on a Saturday morning to identify hazards, time the trip accurately, and find coffee/restroom stops. Rush hour traffic behaves differently—consider a second test during your actual commute time.
4. Have Backup Routes
Construction, weather, or road conditions may require alternate routes. Plan 2-3 options to avoid being forced onto dangerous roads mid-commute.
Ideal Commute Distance
- 3-5 miles (15-25 minutes): Perfect for beginners, year-round feasibility
- 5-10 miles (25-45 minutes): Excellent fitness benefits, reasonable time investment
- 10-15 miles (45-75 minutes): Serious training potential, requires weather backup plan
- 15+ miles: Multi-modal approach (bike+train) or e-bike recommended
Essential Gear for Bike Commuting
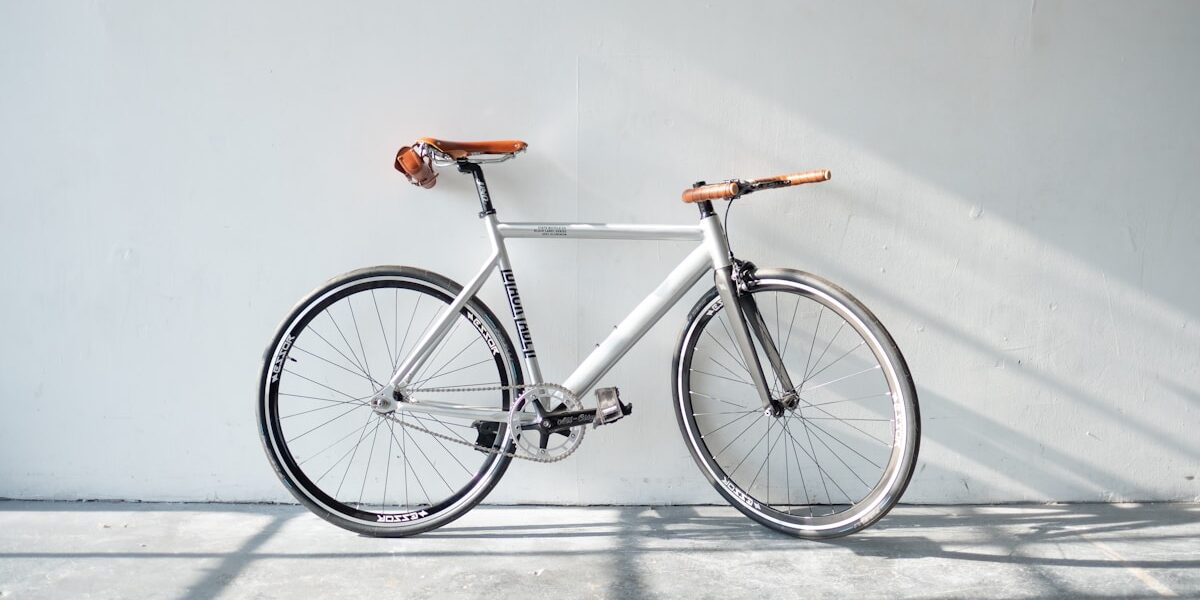
The Bike: What Works Best
Hybrid/Flat-Bar Road Bikes (Most Popular)
Upright position, puncture-resistant tires, fenders, and rack mounts make hybrids ideal for commuting. Models like Trek FX, Giant Escape, and Specialized Sirrus dominate bike commuter parking.
Gravel/Adventure Bikes (Versatile)
Drop bars for speed, wide tires for comfort, rack mounts for cargo. Excellent if your route includes rough roads or you want one bike for commuting and weekend rides.
E-Bikes (Game Changer)
Pedal-assist e-bikes extend commute range to 15-20 miles without arriving sweaty. Worth the $1,500-3,000 investment if distance or hills previously made bike commuting impractical.
Your Existing Bike (Perfectly Fine)
Road bikes, mountain bikes, and even old beaters work for commuting. Add lights, fenders, and a rack as needed.
Must-Have Safety Equipment
Lights (Non-Negotiable)
- Front light: 400+ lumens, flashing mode for daytime visibility
- Rear light: Bright red LED, auto-sensing models turn on in low light
- Budget options: Cygolite, Light & Motion ($40-100)
- Premium: Exposure, Lezyne ($100-200)
Helmet
Modern commuter helmets ($50-100) include integrated lights, visors, and MIPS protection. Not legally required everywhere but drastically reduces head injury risk.
Reflective Gear
- Ankle bands catch driver attention at night
- Reflective vest over clothing
- Reflective backpack cover
Cargo Solutions
Backpack/Messenger Bag (Entry Level)
Pros: Works on any bike, portable
Cons: Sweaty back, shoulder strain, less cargo capacity
Pannier Bags (Recommended)
Attach to rear rack, carry 30-40 lbs without affecting balance. Ortlieb and Axiom make waterproof models ($80-150). Life-changing upgrade from backpacks.
Front Basket (Quick Errands)
Perfect for groceries, laptop bags, or small cargo. Wald baskets ($30-50) are indestructible.
Weather Protection
Rain Gear
- Jacket: Breathable waterproof cycling jacket ($80-150)
- Pants: Packable rain pants or convertible trousers ($40-80)
- Fenders: Keep water spray off you and bike ($30-60)
- Waterproof panniers: Protect electronics and clothing
Cold Weather Gear
- Gloves: Lobster or insulated cycling gloves for warmth and dexterity
- Layers: Base layer, insulated jacket, windproof shell
- Shoe covers: Neoprene covers prevent frozen toes
- Balaclava/buff: Protects face and neck from wind
Clothing Strategies
Option 1: Change at Work (Most Common)
Wear cycling-specific clothing, carry work clothes in panniers, change and freshen up at office. Requires:
- Office with restroom or changing area
- Storage for cycling clothes while at work
- System to transport 5 days of clothes at week start
Option 2: Ride in Work Clothes (Casual Dress Codes)
Commute in khakis/jeans and button-down if your office is casual and commute is short (under 5 miles). Strategies:
- Slow pace to minimize sweating
- Bring extra shirt as backup
- Store spare clothes at office
- Arrive 15 minutes early to cool down
Option 3: Shower at Office
If your office has showers, commute hard, shower, and start work refreshed. Requires:
- Gym bag with toiletries
- Week’s worth of work clothes stored at office
- Extra 20 minutes at arrival
Safety Tips and Best Practices
Visibility
- Always use front and rear lights, even in daylight
- Wear bright colors (yellow, orange, lime green)
- Make eye contact with drivers before crossing
- Assume you’re invisible until proven otherwise
Defensive Riding
- Take the lane: Ride center of lane on narrow roads to prevent unsafe passing
- Avoid door zone: Ride at least 4 feet from parked cars
- Shoulder check: Look behind before changing lanes or turning
- Predictable movement: Signal turns, ride straight lines, no sudden moves
Intersection Safety
- Most bike accidents happen at intersections
- Never pass trucks/buses on the right
- Watch for right-turning vehicles (they often don’t see cyclists)
- At red lights, position yourself in driver’s line of sight
Overcoming Common Barriers
“I’ll Arrive Sweaty”
Solutions: Ride slower, leave earlier to cool down, use e-bike, change clothes at work, store spare clothes, use antiperspirant before riding.
“My Commute Is Too Far”
Solutions: Multi-modal commute (bike to train station), e-bike to extend range, bike 2-3 days/week instead of daily, move closer to work.
“The Weather Is Bad”
Solutions: Proper rain and cold-weather gear, fair-weather-only commuting (2-3 days/week), keep backup transit pass.
“It’s Not Safe”
Solutions: Choose safer routes (longer but calmer), ride during off-peak hours, take bike handling skills class, join group commutes.
“I Need My Car for Work”
Solutions: Bike commute on days without meetings, carshare/uber for rare car needs, cargo bike for client materials.
Getting Started: Phase-In Approach
Week 1-2: One Day per Week
Choose the best weather day, shortest route, lightest cargo day. Build confidence and identify issues.
Week 3-4: Two Days per Week
Add a second day. Test different routes and weather conditions. Refine gear and clothing systems.
Week 5-8: Three Days per Week
Become regular bike commuter. Physical adaptation occurs—commute feels easier, less sweating at same pace.
Week 9+: Daily or Most Days
Bike commuting becomes default. Keep backup transit option for truly terrible weather or special circumstances.
Cost Breakdown: First Year of Bike Commuting
Initial Investment:
- Used commuter bike: $300-600
- Lights (front + rear): $60-100
- Helmet: $50-100
- Lock (U-lock + cable): $60-80
- Rack and panniers: $100-200
- Rain jacket and pants: $120-200
- Total: $690-1,280
Ongoing Annual Costs:
- Tire replacements: $60
- Brake pads: $30
- Chain/cassette/tune-ups: $150
- Light batteries/replacements: $20
- Total: $260/year
Savings vs Car Commuting (10 miles each way):
- Gas: $1,800/year saved
- Parking: $1,200/year saved
- Reduced car maintenance: $500/year saved
- Insurance (possibly): $200-400/year saved
- Total savings: $3,700-4,900/year
Break-even: 3-4 months
Final Tips for Successful Bike Commuting
- Start in spring/summer: Easier weather builds confidence before winter
- Find a bike commute buddy: Riding with experienced commuters teaches skills and routes
- Maintain your bike: Monthly cleaning and quarterly tune-ups prevent breakdowns
- Join local bike advocacy: Push for better infrastructure in your city
- Don’t be a hero: Take transit on ice, heavy rain, or days you’re exhausted
- Treat yourself well: Good gear, coffee stops, and panniers instead of backpacks make commuting enjoyable
Bike commuting transforms your daily grind into active adventure. The first few weeks require adjustment, but soon you’ll wonder why you ever sat in traffic. Start with one day per week, invest in essential gear, choose safe routes, and enjoy the fitness, cost savings, and mental health benefits of bicycle commuting.


Leave a Reply